
How to train a cat to use carrier usually comes down to one thing: stop treating the carrier like a “bad news box” and turn it into normal furniture your cat chooses on their own.
If your cat only sees the carrier right before the vet, they learn the pattern fast, then the chase starts, stress spikes, and every trip gets harder. The good news is most cats can feel more comfortable with a carrier when you build positive associations in small, repeatable steps.
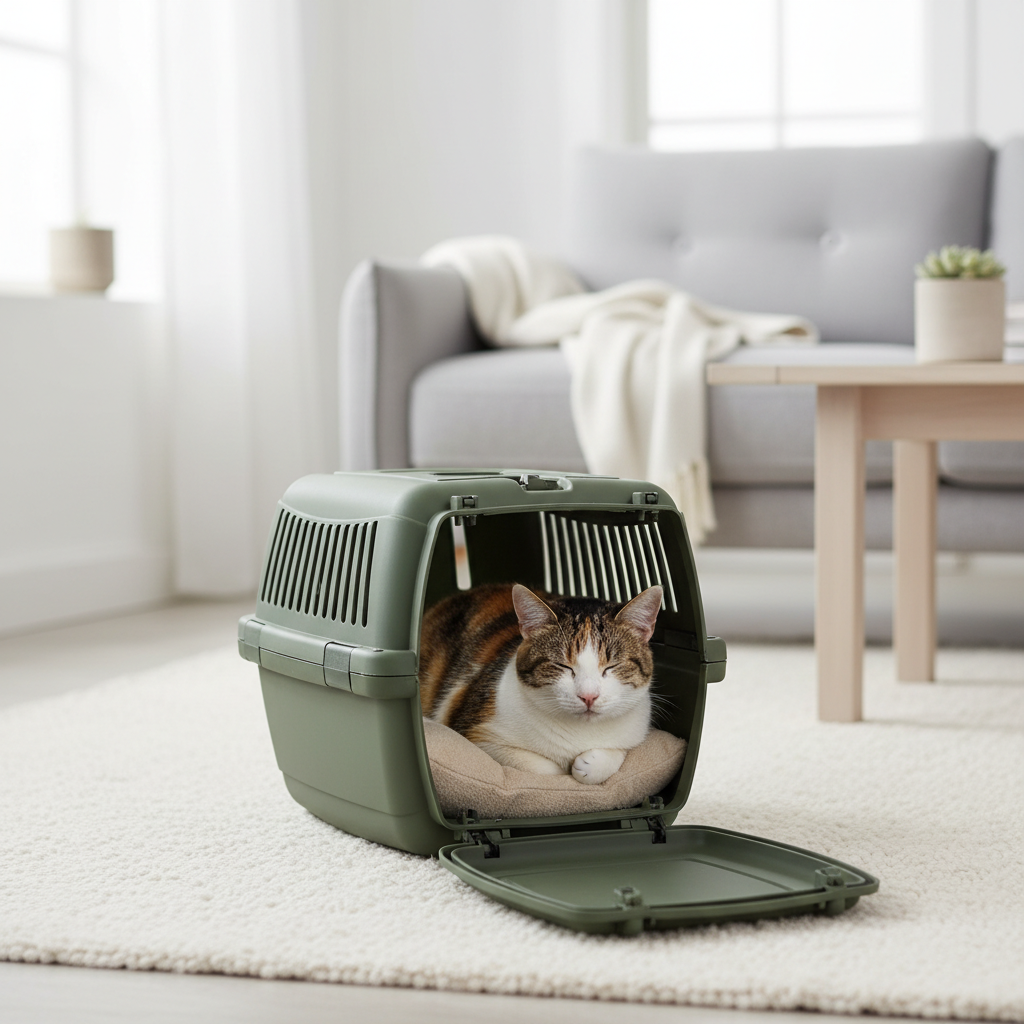
This guide covers why cats resist carriers, a quick self-check to pick the right approach, and a practical training plan you can follow in minutes a day. You’ll also get a simple table for troubleshooting, plus a few “don’t do this” mistakes that quietly undo progress.
Why cats panic about carriers (it’s usually not stubbornness)
Most carrier battles are predictable. Cats avoid situations that feel unfamiliar, cramped, noisy, or hard to escape, and the carrier often checks every box.
- Bad timing association: the carrier appears, then nail trims, car rides, vet smells, and restraint happen.
- Territory disruption: cats feel safest when they control space; being enclosed can feel like losing control.
- Texture and scent issues: slippery plastic floors, strong detergent smells, or a blanket that smells like the clinic can trigger avoidance.
- Handling memory: being grabbed, pushed, or “dumped in” teaches the carrier equals capture.
According to the American Association of Feline Practitioners (AAFP), reducing stress around transport and clinic visits is a key part of feline-friendly care, and carrier training is often recommended as prevention, not a last-minute fix.
Choose the right carrier setup before you start training
Training goes smoother when the carrier itself feels stable, roomy, and easy to enter. If the door scrapes, the bottom flexes, or the opening feels tight, even confident cats hesitate.
What to look for
- Size: your cat should stand up, turn around, and lie down without curling tightly.
- Two access points: top-load + front-load often reduces the “tunnel” feeling and helps at the vet.
- Solid, quiet base: less wobble, less noise, less drama.
- Easy to take apart: a removable top can make clinic exams less stressful.
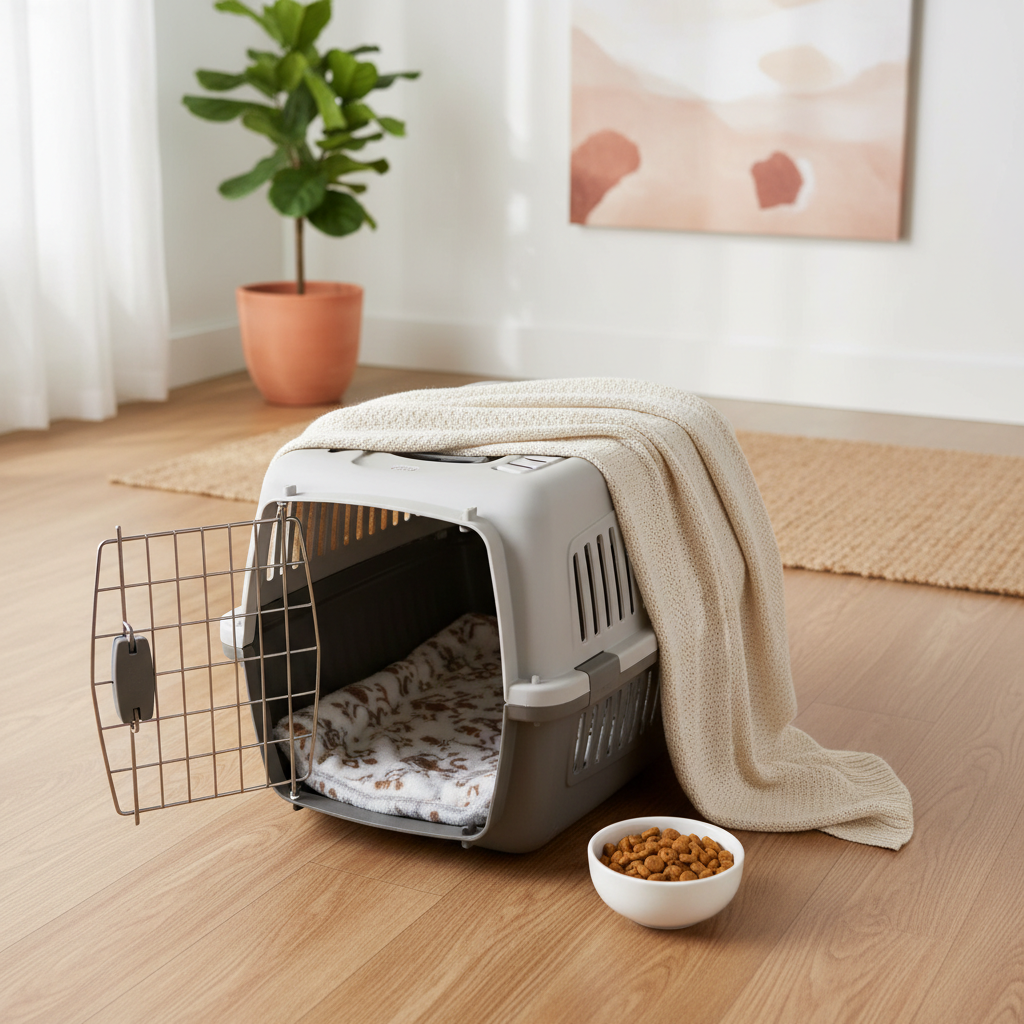
Add a thick towel or non-slip mat. Then add a soft item that smells like home, not freshly washed. A light cover over part of the carrier can help some cats, but leave airflow and visibility options.
Quick self-check: what kind of “carrier resistance” are you dealing with?
Before you jump into a plan, figure out whether your cat is mildly cautious or already in full avoidance mode. The starting line matters.
- Mild: sniffs carrier, will eat near it, backs away when you touch the door.
- Moderate: avoids the room, freezes when carrier appears, won’t take treats nearby.
- Severe: bolts, vocalizes, swats, urinates/defecates, hides for hours afterward.
If your cat is in the severe range, go slower and consider getting help early. It’s not “being dramatic,” it’s a panic response, and forcing it tends to worsen the next attempt.
Step-by-step training plan (10 minutes a day, split if needed)
For most homes, the best results come from short sessions and a carrier that stays out all the time. You’re aiming for voluntary choices, not compliance under pressure.
Phase 1: Make the carrier part of the room
- Place the carrier in a quiet area where your cat already spends time, door open, no hovering.
- Toss a few treats around the carrier, not inside yet, then walk away.
- Feed meals a few feet away, gradually moving the bowl closer over several days.
Look for relaxed body language: normal blinking, loose tail, casual sniffing. If your cat stops eating, you moved too fast.
Phase 2: Build “inside = good stuff”
- Start tossing treats just inside the doorway, then deeper as confidence grows.
- Use a high-value reward for the carrier only, like a squeeze treat, small tuna flakes, or favorite crunchy pieces.
- Add a cue if you want, such as “carrier,” but keep it calm and consistent.
This is where many people accidentally rush. Let your cat step in and step out without you touching the carrier. That freedom is the point.
Phase 3: Door movement without the “trap” feeling
- While your cat is eating a treat near the entrance, lightly touch the door, then reward and stop.
- Progress to moving the door an inch, reward, then open fully again.
- When your cat can eat inside calmly, close the door for 1 second, reward, then open.
Keep repetitions low. Two calm door-closes beat ten tense ones.
Phase 4: Short lifts and “house rides”
- With your cat inside and relaxed, lift the carrier one inch, set it down, reward.
- Walk one room over, set down, reward, open door, let your cat choose when to exit.
- Gradually add gentle motion that mimics real life: a short hallway walk, then a porch step, then the car.
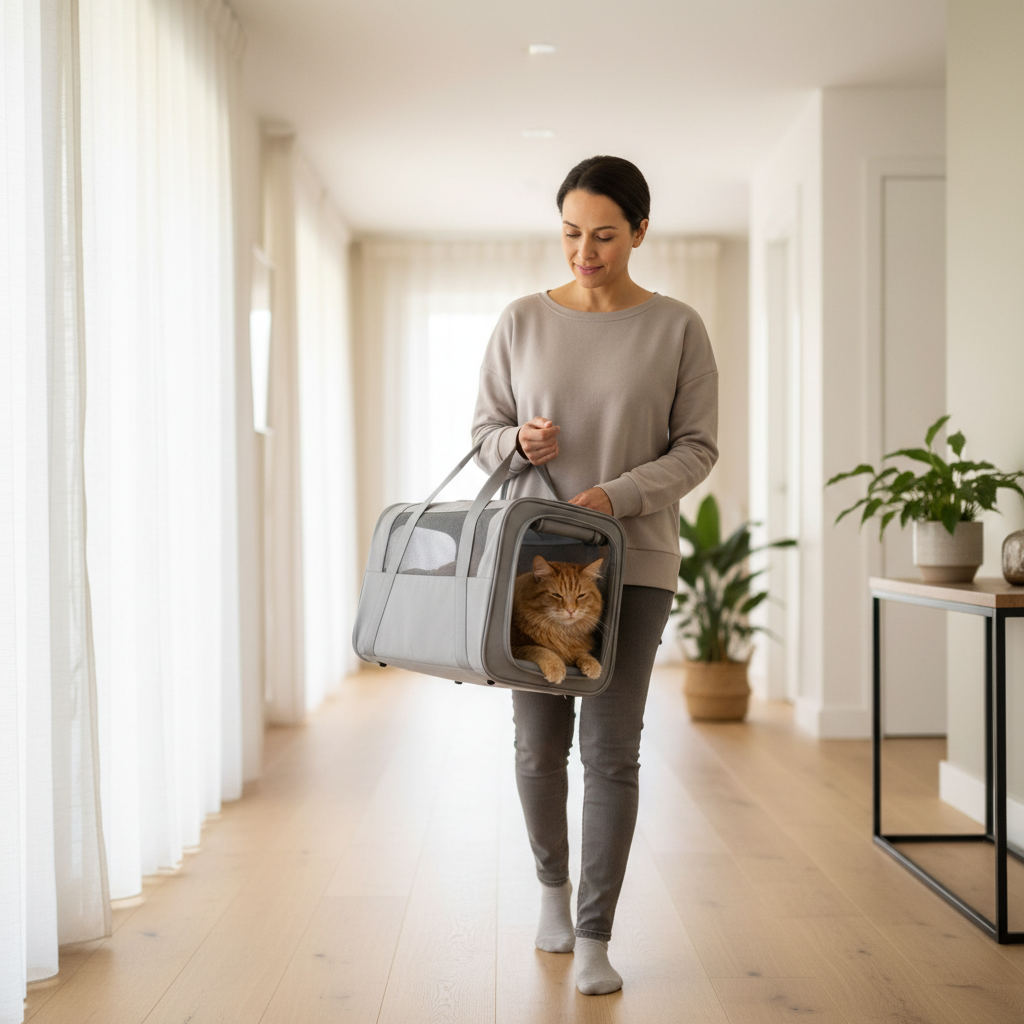
If you’re wondering how to train a cat to use carrier without constant treats, this phase matters: motion is often the real trigger, so you’re teaching “movement still ends safely.”
Car practice: turning the car from “panic box” into a predictable routine
Some cats love the carrier at home but unravel in the car. That’s common, because the car adds vibration, noise, smells, and unfamiliar motion cues.
- Start with the carrier placed in the parked car, engine off, 1–2 minutes, reward, then back inside.
- Progress to engine on while parked. Keep it short and end before your cat escalates.
- Drive around the block, then return home and offer a reward at home, not only in the car.
According to the ASPCA, using positive reinforcement and gradual desensitization can help reduce fear responses in pets. In practice, that means you stop sessions while your cat is still coping, not after they tip into distress.
Troubleshooting table: what you see vs. what to change
Carrier training rarely fails because you “did it wrong,” it fails because the step size was too big. Use this as a quick reset.
| What’s happening | Likely cause | Try this next |
|---|---|---|
| Cat eats near carrier but won’t step in | Entrance feels risky or interior smells odd | Remove door temporarily, add non-slip towel, place treats just inside |
| Cat goes in, bolts when door moves | Feels trapped | Reward door touch only, then micro-movements, end session early |
| Cat hides when carrier appears | Carrier predicts vet | Leave carrier out 24/7, do “fake trips” with no vet afterward |
| Meowing escalates in the car | Motion/noise sensitivity | Short parked-car sessions, cover part of carrier, stable seatbelt setup |
| Scratching at door, panting | High stress response | Stop, reduce intensity, speak with a veterinarian about options |
Common mistakes that slow progress (even when you mean well)
- Only bringing the carrier out “when it’s time”: this keeps the bad association strong.
- Chasing and stuffing: it works once, then the next time is harder.
- Doing one long session: fear learning happens fast; short wins build trust.
- Washing everything with strong fragrance: many cats avoid sharp scents; use mild products and rinse well.
- Rewarding too late: if the treat comes after panic, your timing is off, reward calm moments.
Also, keep your expectations realistic. Some cats become “carrier neutral” rather than “carrier happy,” and that can still be a big quality-of-life upgrade.
When to ask for professional help (and what that might look like)
If your cat shows intense distress, injures themselves trying to escape, or you can’t safely handle them, it’s worth involving a professional sooner. A veterinarian can rule out pain or illness that makes confinement worse, and may suggest calming strategies that fit your cat’s health profile.
According to the AVMA, veterinarians can advise on behavior concerns and appropriate options for reducing stress during transport. In some cases, a certified cat behavior consultant can design a plan that matches your household constraints, especially when you have multiple cats or a history of traumatic trips.
Key takeaways and a simple next step
How to train a cat to use carrier is less about “getting them in” and more about making the carrier ordinary, predictable, and rewarding. If you do one thing today, set the carrier out with comfy, non-slip bedding and toss a few high-value treats near it, then walk away.
Give it a week of low-pressure reps, then add door movement and short lifts. Small steps feel slow, but they’re usually the fastest route to a calmer cat and a calmer you.
Practical next step: pick one daily time, do a 3-minute treat toss near the carrier, stop while it still feels easy.